Iron Condor Strategy: Master Massive SPX Structures for Consistent Trading Profits
Ever watched the market get stuck in a tight range all day, grinding sideways while your directional trades get chopped up? What if there was a way to not just survive these conditions, but actually profit from them?
That’s exactly what massive iron condor positions can show you – and more importantly, how to trade around them effectively.
An iron condor strategy involves selling both a call spread and a put spread with the same expiration, creating a position that profits from range-bound price action. But when these structures appear in massive size – what we call “Captain Condor” – they don’t just influence the market, they dominate it.
Today, we’re breaking down everything you need to know about iron condor strategies, from the basics to how enormous positions create predictable trading opportunities in SPX options.
Table of Contents
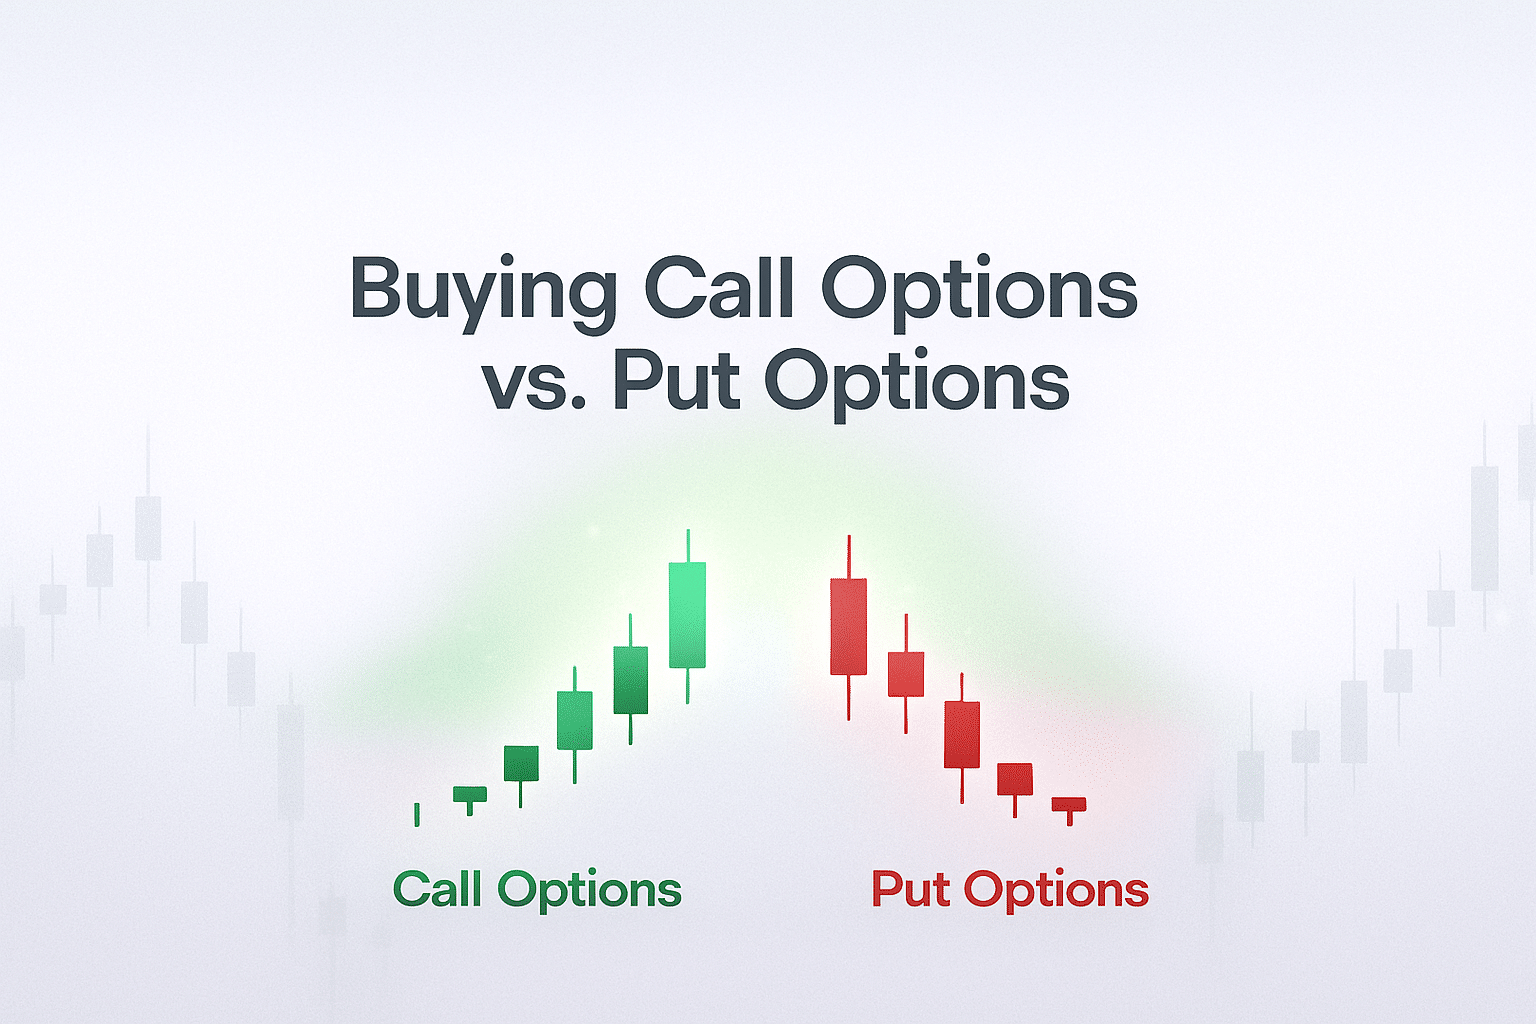
What Is an Iron Condor Strategy?
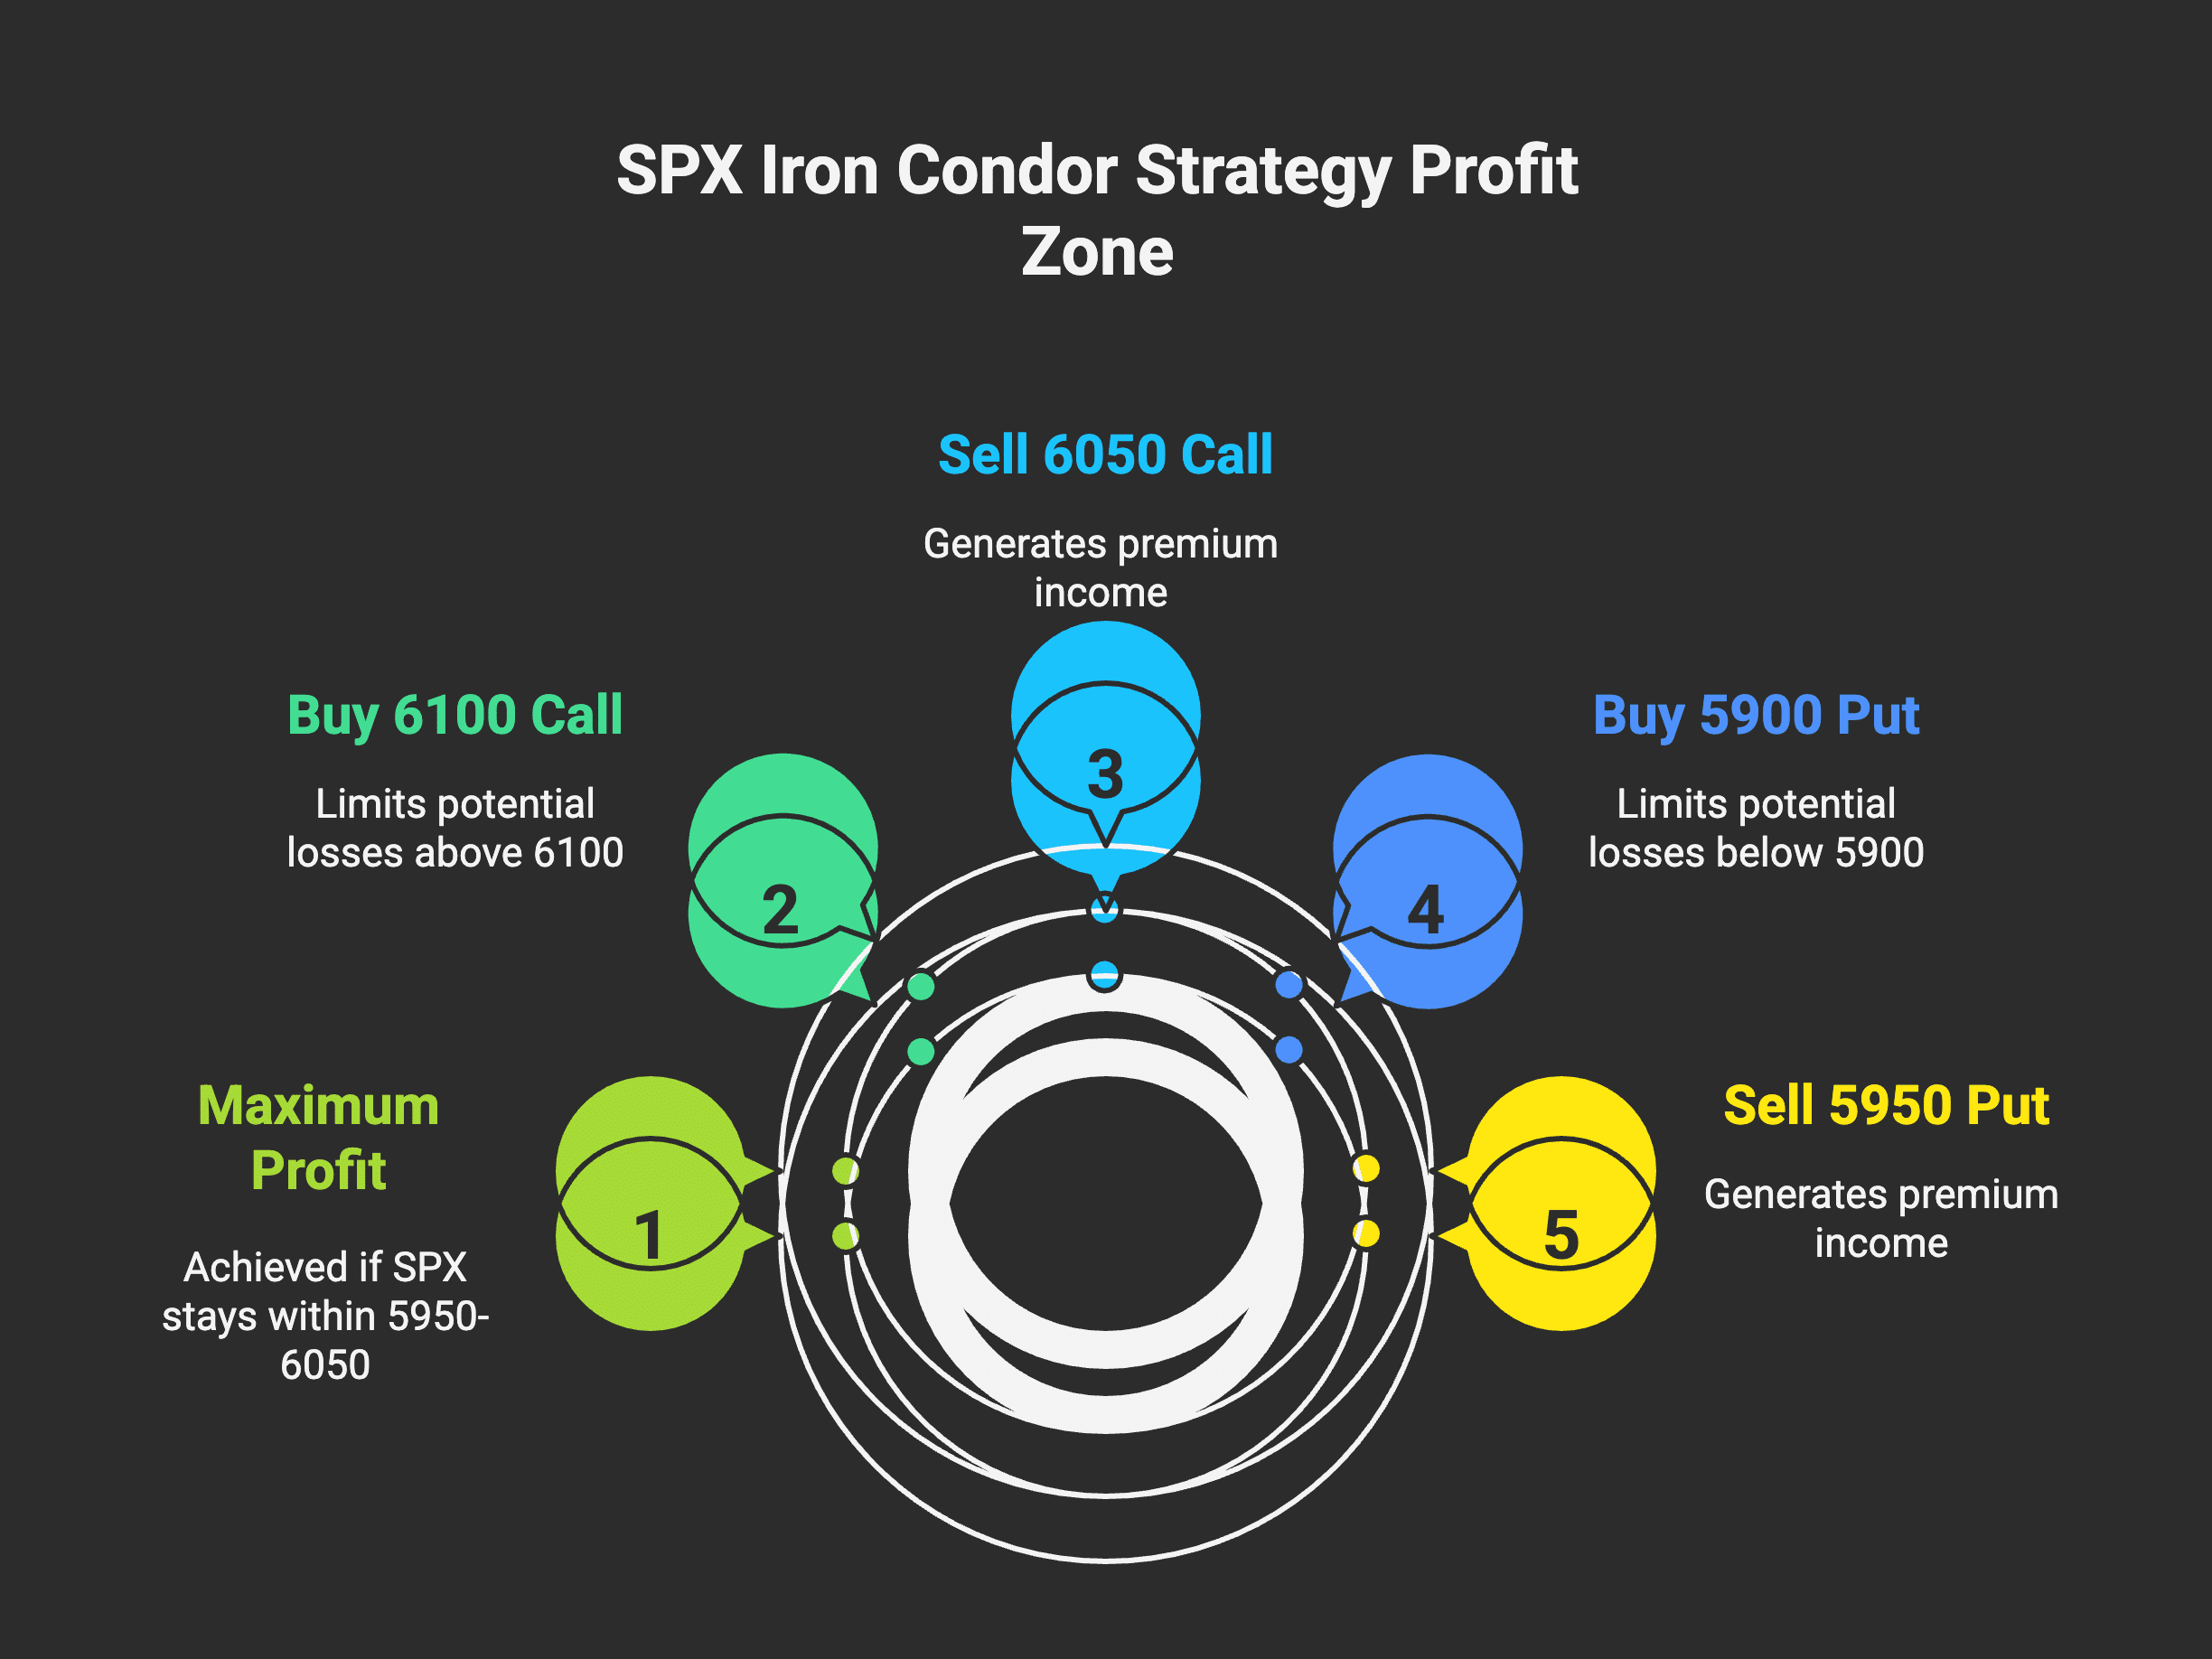
An iron condor is an options strategy that combines four different strikes into one position:
- Sell 1 out-of-the-money put (lower strike)
- Buy 1 further out-of-the-money put (lowest strike)
- Sell 1 out-of-the-money call (higher strike)
- Buy 1 further out-of-the-money call (highest strike)
Think of it like placing “goal posts” around where you expect the stock to trade. The iron condor strategy profits when price stays between your two short strikes (the “goal posts”) and loses money if price moves outside this range.
Basic Iron Condor Mechanics
Here’s how iron condor profit and loss works:
Maximum Profit: Occurs when the stock closes between your two short strikes at expiration. You keep the entire premium collected.
Maximum Loss: Happens when the stock moves significantly beyond either wing. Your loss is limited to the width of the spread minus the premium collected.
Breakeven Points: Your short strikes plus/minus the net premium collected.
For example, if SPX is trading at 6000:
- Sell 5950 Put / Buy 5900 Put
- Sell 6050 Call / Buy 6100 Call
- Collect $15 premium per contract
Your profit zone is 5950-6050, with maximum profit of $15 if SPX stays in this range.
Understanding Massive Captain Condor Positions in SPX
While individual traders might place small iron condor strategies, institutional players sometimes create enormous positions that can exceed 25,000-30,000 contracts per leg. These “Captain Condor” structures are large enough to create their own gravitational effects on SPX price action.
Why Massive Condors Matter
When these huge iron condor positions appear in SPX options, they fundamentally alter how price behaves:
Range Creation: The massive short strikes act like magnets, pulling price toward the profit zone of the iron condor structure.
Acceleration Zones: Breaking through the wings creates momentum as thousands of options shift from out-of-the-money to in-the-money simultaneously.
Volume Impact: The sheer size means that normal technical analysis often breaks down, as options positioning creates forces that traditional charts can’t account for.
Identifying Captain Condor Structures
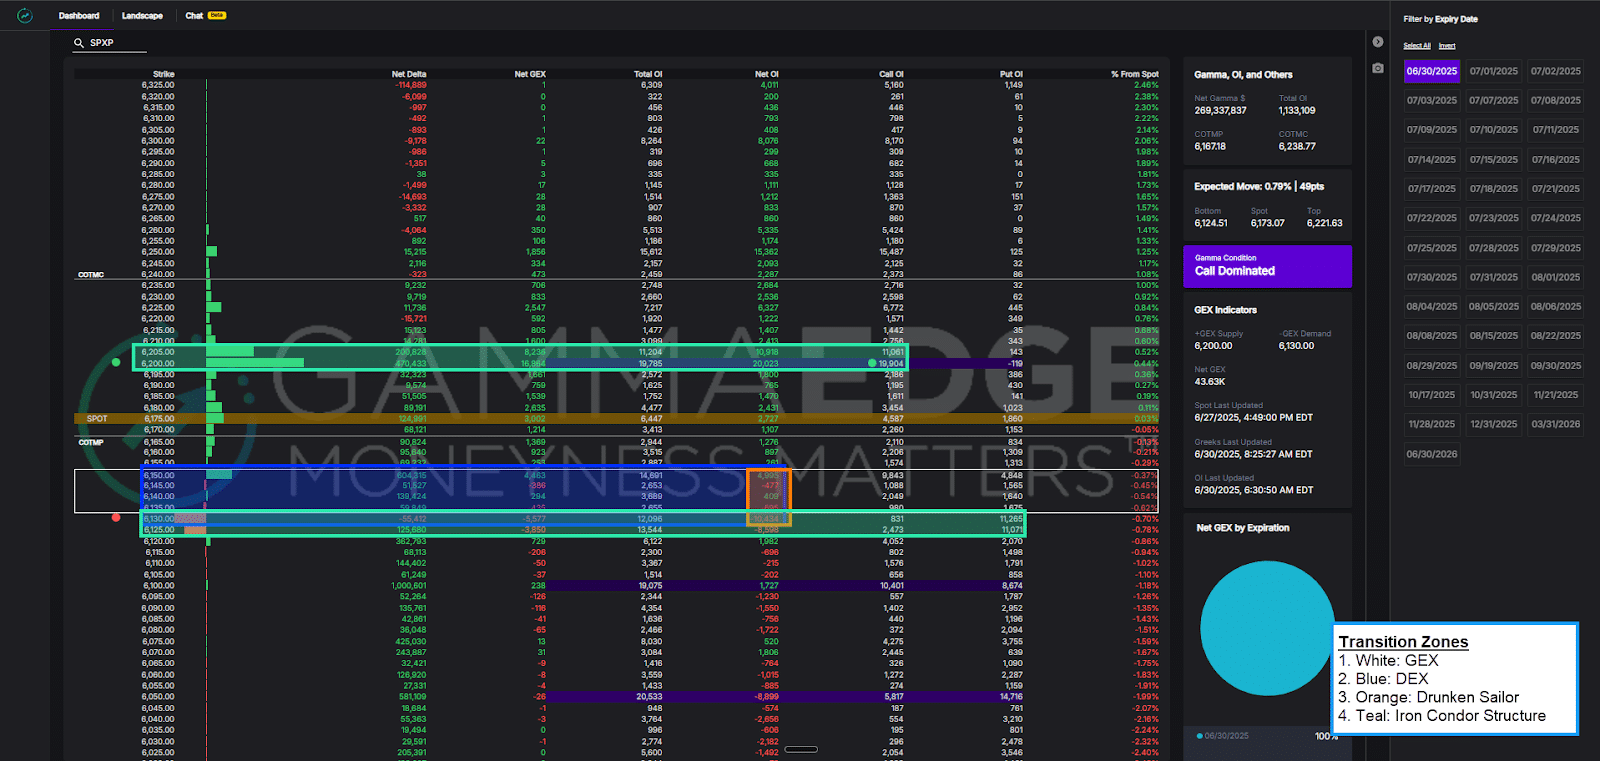
We identify these massive iron condor positions through our options analysis tools, looking for:
- Extreme concentrations of open interest at four distinct strike levels
- Net positioning that exceeds 20,000+ contracts per leg
- Clear symmetrical structure above and below current price
- Gamma exposure that creates distinct behavioral zones
When we spot these in our morning analysis, it completely changes our trading approach for the session.
Captain Condor Trading Strategies: Three Market Scenarios
Massive iron condor structures create three distinct trading environments, each requiring different approaches:
1. Inside Captain Condor: Range-Bound Trading
When SPX price is trapped between the short strikes of a massive iron condor:
What to Expect:
- Choppy, back-and-forth price action
- Mean reversion tendencies as price gravitates toward the center
- Lower volume requirements to move price within the range
- Time decay working against directional moves
Trading Approach:
- Focus on swing trading strategies that profit from range-bound conditions
- Use mean reversion setups rather than breakout plays
- Consider shorter timeframes for entries and exits
- Watch our SPX volume analysis tools for range confirmation
2. Breaking Above: Bullish Acceleration Zone
When price clears the upper short strike of the iron condor:
What Happens:
- Gamma acceleration kicks in as massive positions transition ITM
- Positive charm effects create sustained upward momentum
- Structural resistance diminishes above the condor
- Momentum strategies become favored
Trading Approach:
- Watch for continuation patterns above the breakout level
- Use our 0DTE options strategies to capture acceleration
- Set profit targets at logical resistance levels
- Monitor volume to confirm breakout sustainability
3. Breaking Below: Bearish Breakdown Zone
When price falls through the lower short strike:
What Happens:
- Put dominance creates downward pressure
- Accelerating declines as more puts move in-the-money
- Time decay compounds downward momentum
- Support levels become critical bounce points
Trading Approach:
- Look for momentum continuation to the downside
- Identify key support levels for potential reversal plays
- Use tight risk management as moves can accelerate quickly
- Apply our mechanical trading strategies for systematic entries
Risk Management Strategies with Condors
Successful iron condor trading requires understanding how to manage risk in each regime:
Position Sizing Guidelines
- Inside the Range: Standard position sizes work well due to predictable movement
- Breakout Trades: Reduce size initially until momentum confirms
- Acceleration Phase: Can increase size with proper stops in place
Stop Loss Placement
- Range Trading: Use the short strikes as stop levels
- Breakout Trading: Place stops below/above the breakout level
- Trend Following: Trail stops using the iron condor wings as guides
Time Decay Considerations
Iron condor structures create different time decay effects:
- Morning: Minimal impact on directional moves
- Midday: Peak gravitational pull toward short strikes
- Afternoon: Accelerated effects as expiration approaches
Practical Captain Condor Implementation
Pre-Market Preparation
When we identify massive iron condor structures in our analysis:
- Note the Strike Levels: Mark the four key levels on your charts
- Identify Current Regime: Understand which zone price is starting in
- Set Alerts: Program notifications for breaks above/below key levels
- Plan Your Approach: Decide whether to trade the range or wait for breakouts
Intraday Execution
Inside the Iron Condor Range:
- Focus on mean reversion opportunities
- Expect choppiness and plan accordingly
- Use shorter-term strategies
- Watch for signs of breakdown/breakout
Outside the Iron Condor Range:
- Monitor for momentum continuation
- Be alert for false breakouts back into range
- Use volume analysis to confirm moves
- Adjust position sizing for increased volatility
Volume Monitoring
Use our intraday volume analysis to:
- Confirm whether breakouts have participation needed to sustain
- Identify divergences between price movement and options flow
- Determine if centroids support the structural implications
- Gauge institutional involvement in moves
Iron Condor Strategy FAQ
What is the maximum profit on an iron condor?
The maximum profit equals the net premium collected when entering the position. This occurs when the underlying closes between your two short strikes at expiration.
When should I use iron condor strategies?
Iron condors work best in range-bound markets with low volatility. They’re ideal when you expect the underlying to trade sideways rather than make large directional moves.
How do iron condors compare to other strategies?
Iron condors offer limited profit potential but also limited risk, making them more conservative than naked options selling but less profitable than successful directional trades.
What happens if SPX breaks through my iron condor?
If price moves beyond your short strikes, you’ll start losing money. Your maximum loss is the width of the spread minus premium collected, but you can close early to limit losses.
How do I adjust a losing iron condor?
Common adjustments include closing the untested side, rolling strikes, or converting to different strategies. However, many traders prefer to close losing positions rather than adjust.
Advanced Iron Condor Concepts
Massive iron condor positions create unique gamma effects:
- Negative Gamma Zones: Between short strikes where price has mean-reversion tendencies
- Positive Gamma Zones: Outside the wings where momentum accelerates
- Transition Points: At the short strikes where behavior changes rapidly
Charm and Time Decay Impact
The time decay (charm) effects vary by zone:
- Inside Range: Generally neutral to slightly negative for directional moves
- Above Range: Can create positive tailwinds for continued upward movement
- Below Range: Often compounds downward pressure throughout the session
The Iron Condor Bottom Line
Iron condor structures create distinct market regimes that require different trading approaches. The key is recognizing which regime you’re in and adapting your strategy accordingly.
When we identify these massive structures in our morning analysis, we’re not just pointing out interesting market trivia – we’re giving you the roadmap for how price is likely to behave throughout the session. Understanding these dynamics can mean the difference between fighting against invisible forces and trading with the structural flow.
Remember: these structures don’t predict exact price movements, but they do reveal the zones where different types of behavior are most likely to occur. Use this knowledge to position yourself advantageously rather than getting caught off guard by seemingly random price action.
Ready to master iron condor analysis and other advanced options strategies? Join thousands of traders who use our comprehensive framework to understand market structure and improve their trading results.